Field Stone Cottage Blog

Showing posts with label Kichen Improvements. Show all posts

Wednesday, May 18, 2011

Kitchen Improvements: Phase IV

Phase IV, the final phase of the kitchen improvement project is now complete! Here is the unveiling of a beautiful stainless steel pot rack hanging over the Boos Block!
What a difference it makes! The pots and pans are so much easier to grab as needed. Now I just have to decide how to utilize the new found cabinet space to its maximum advantage.

The entire kitchen improvement project cost about $2500.00. That's not cheap but its still a fraction of what an actual kitchen remodel would have cost and I know I'm happier with the outcome. My kitchen went from looking nice but not so workable to very comfortable to work in and I really love how it looks too! I am so pleased!

Friday, April 8, 2011

Kitchen Improvements: Phase III

We've completed Phase III of our kitchen improvement project and I'm ready for the unveiling!

But first, the "before" pictures. The kitchen has this pale striped wallpaper on the wall between the counter top and the cabinets as well as under the window and on the soffit above the cabinets.
Its been here from before we moved in but I like it...all except for the part between the kitchen sink and the window. Why would anyone put wallpaper in that back splash area? Must have been someone who never washed dishes. Predictably, the wallpaper was peeling back there and the sheet rock underneath was in danger from the moisture.

Because I like the wallpaper and because of the complications involving the shape of the molding under the window sill and the book shelves to the left of the window, we decided that only the part between the window and the sink area had to be redone. After several visits to the big box home improvement stores, we decided to go with a thermoplastic material made to look like metal. The brand name is Fasade. It comes in a number of patterns and finishes. Our choice is called hammered and its in a brushed nickel finish. Naturally, it was not available in our local stores, not even as a special order. But we found it online from this site. It came quickly and I stripped that area of wallpaper in a couple of hours just one week ago today. The next morning, it took a few hours for Andy and me to formulate a plan of action and get the pieces fastened up with Liquid Nails but we enjoyed gazing at the result of our labors over lunch.


Friday, March 25, 2011

Kitchen Improvements: Phase II

Phase II of the kitchen improvements had to be a way to increase counter top workspace. We had a small kitchen cart/island which helped some. You can see it in my Kitchen Improvements: Phase I post, but it simply wasn't big enough. And we had plenty of floor space for something bigger.

First, we measured and tried some different pieces of furniture in the spot to determine the appropriate dimensions. Then we did lots of research, mostly online, before deciding on a beautiful butcher block from the John Boos company. They have lots of different styles and sizes but we chose a Gathering Block III. And upon discovering through the very helpful Norbert at the factory store that we could save 40% if we went down to pick it up in Effingham, IL, which is about 5 and a half hours away, we decided that a weekend road trip was just the ticket.

Now, the Gathering Block III measures 24 X 48 inches and we have a Honda Ridgeline pick-up with a bed that is bigger than that so we figured it would be a piece of cake. We even thought the end gate would close and the tonneau cover would fasten over it!! Wrong!!!! It was kind of scary watching the forklift descend on the truck and I was too shocky to think of a picture at the factory but here it is in the pickup in the driveway.

We were a little concerned about the two of us getting it out of there when we got home but we managed by opening the box and bringing in the well-packed pieces one at a time.

Andy did have to get our gracious neighbor to help him bring in the 4 inch thick top though. I just could not manage an end of that!

Then it was on to assembling it which Andy did with just a little help from me and none from Charlie.
Then we kind of rolled it upright and slid it into place before putting in the basket drawers.

It was an adventure but we're very, very pleased with the results! Isn't it a beauty!

Monday, February 14, 2011

Kitchen Improvements: Phase I

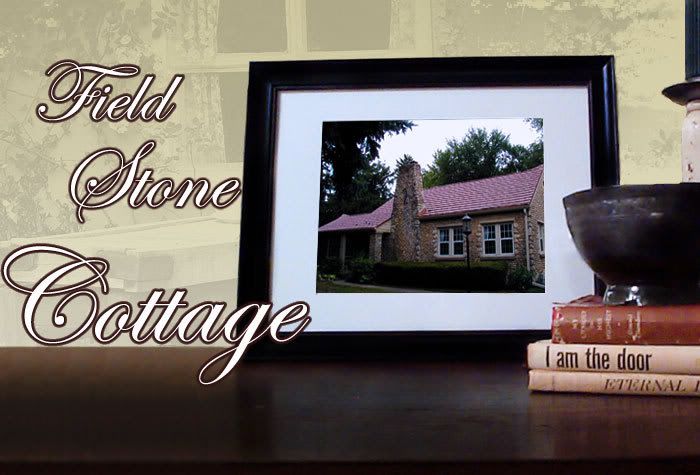
Field Stone Cottage dates to the 1930's. The kitchen has been redone, probably multiple times, since then. The latest upgrades predate our ownership of the cottage which is now into its seventh year. My best guess would be late 1980's or early 1990's. The kitchen is really lovely but it is lacking in both usable cupboard space and working countertop space.
Andy and I debated on how to proceed on improvements and came up with a four point plan. Phase One: We decided that the two lower corner cupboards just had to have lazy susans installed! I was sick of having to get down on the floor, flashlight in hand, to try to find anything in the far reaches of those chasms!
So we visited our local big box home improvement centers and Andy searched for retrofit lazy susans online. We decided on these models.
After some emails back and forth between Andy and Allen to get the sizing right, we ordered four of these lazy susans on February 2nd. They arrived this past Friday, the 11th and Andy installed them on Saturday. He was really pleased with how quickly and easily the project went! I wasn't much help since I had the flu. Andy even took the pictures! But I'm really pleased with the outcome!